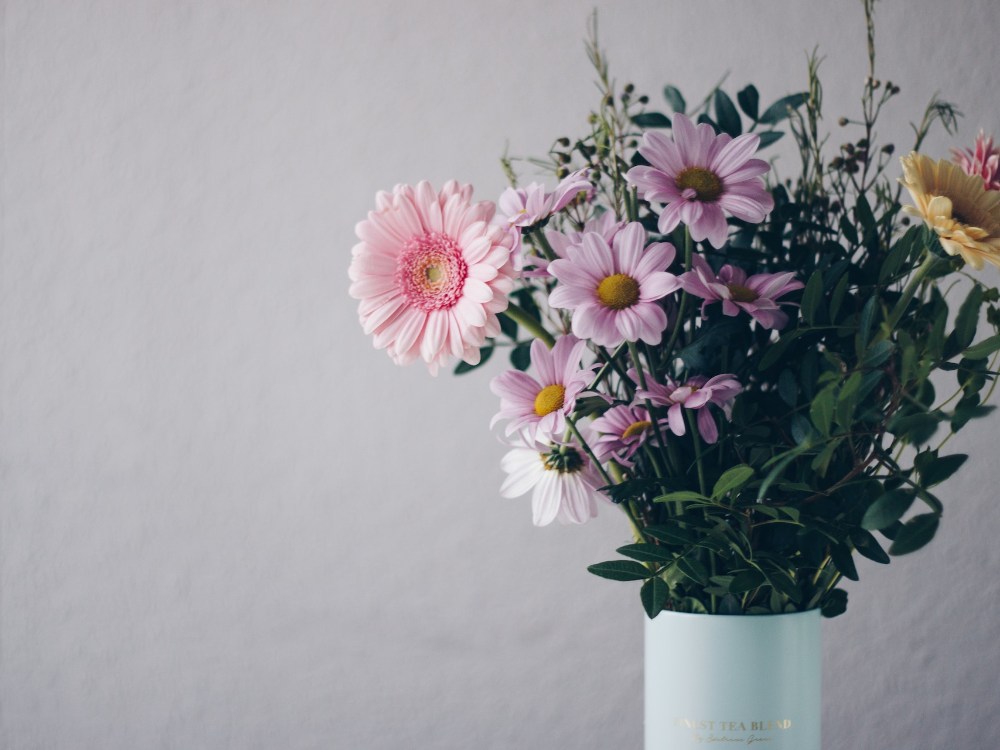
We all can agree that a bouquet of fresh flowers makes a space more inviting. But while anyone can plop a handful of flowers into a vase, a little more thought and technique in the art of flower arranging, can help you recreate that beautiful professional bouquet you admire at the latest event at home. Once you learn the basics, flower arranging can be both fun and simple. This step-by-step guide to arranging flowers will help you put together and display gorgeous bouquets. So, get out the garden shears and start arranging!
One way to guide your arrangement is to decide on a color scheme before shopping for flowers. Monochromatic schemes, which show off a variety of different hues of the same color, can be striking. For another high-impact floral design, try complementary colors that will pop against each other.
While you can be methodical about your color scheme, there isn’t a way to go wrong when pairing flowers.
When selecting a vase or other container for your arrangement, consider the type of flowers you’re using. Tulips typically require the support of a straight-sided vase, for example, while tall branches or top-heavy flowers might need a weighted vessel.
You will need to gather some much-needed equipment ahead of time to take the stress out of making your arrangement:
The most important flower arrangement technique doesn’t involve the flowers—it’s all about the vessel you put them in. First, prepare your water by filling your vase with room temperature water and adding a preservative solution. Next, if the flowers don’t have a sturdy foundation, they won’t stay in place and your arrangement will end up falling apart. To make sure flowers stay in place, create a grid of floral tape over the mouth of the vase. Stick the stems through the holes of the grid to keep them in place.
After arriving home with your flowers, you might be tempted to begin arranging them right away. However, there are some important steps to take to prepare flowers and make them last longer. First, remove extra leaves and damaged petals from stems. If there are unwanted buds on the same stem as a full flower, cut those off as well. Once the stems are cleaned up, make a fresh diagonal cut to the bottom of the stems. If you’re using a tall vase, the entire arrangement from the very top to the bottom should be two and a half times the height of that vase. So, if your vase is 10 inches tall, the height of your entire arrangement should be 25 inches tall. For smaller vases, like a cube, you should be looking to accomplish one and a half times the height of the vase and two times the width.
The best way to arrange flowers is to start with greenery as a base. Eucalyptus, ivy, and fern fronds are good greenery go-tos. Use the stems of the greenery to create an inverted triangular shape. This guarantees your arrangement will have both a horizontal and a vertical presence.
Focal flowers are usually the largest blooms or those with an unusual color or texture. Make sure to add odd numbers for a more natural (not symmetrical) look. Don’t place the focal flowers so they are sticking straight out on the sides: they will look droopy and heavy, rather than strong and perky. Most people strive to create symmetry in a floral arrangement, but the balance can be just as pleasing to the eye and visually impactful. Focus less on symmetry and more on balance, not only because it’ll be more interesting, but you’ll find that it’s much easier to do, because finding symmetry, even within two lilies, is almost impossible.
Add smaller flowers and textural elements in the arrangement to fill around the focal flowers. Again, don’t place all of the supporting flowers straight up or to the sides. Combine smaller flowers in groups of three or five to create clustering, similar to what happens in nature.
Finish the design with floaters or delicate blooms like baby’s breath, sedum, or yarrow. Put these in last so they don’t get squished or buried by heavier blooms. Before displaying, give your finished flower arrangement a light spritz of water to mimic the look of fresh dew. Refill the vase with water as needed to keep the flowers hydrated and fresh.


Subscribe to our newsletter and be the first to know about new events and offerings!
© 2022 A Dining Diva. All Rights Reserved